Here's my old rabbitry. I designed it to workwith the existing structure of the playhouse. I used this rabbitry whenI was in 4H, in high school. I made the designs and measurementsmyself, my dad helped me build it. Everything was made from scratch,cages and all.
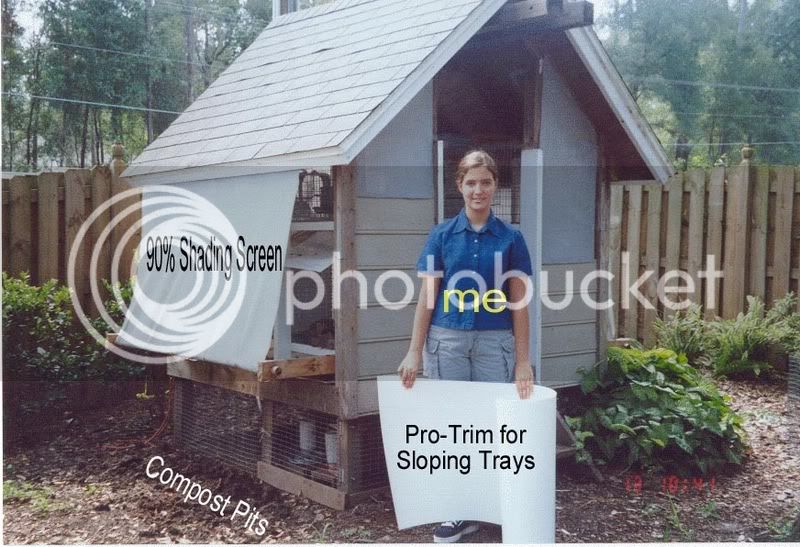
This first picture shows me on the outside of the completed rabbitry.It held eight cages large enough to have a doe kindle and grow outlitters in. They could be divided in half to split juniors up. You cansee the shade cloth that is slanting off to the sides. The roll I amholding is Pro-Trim a vinyl product that holds it's shape, I used itfor the sloping poop trays. (The fenced in area underneaththe building is where I cooped my free-range chickens at night)
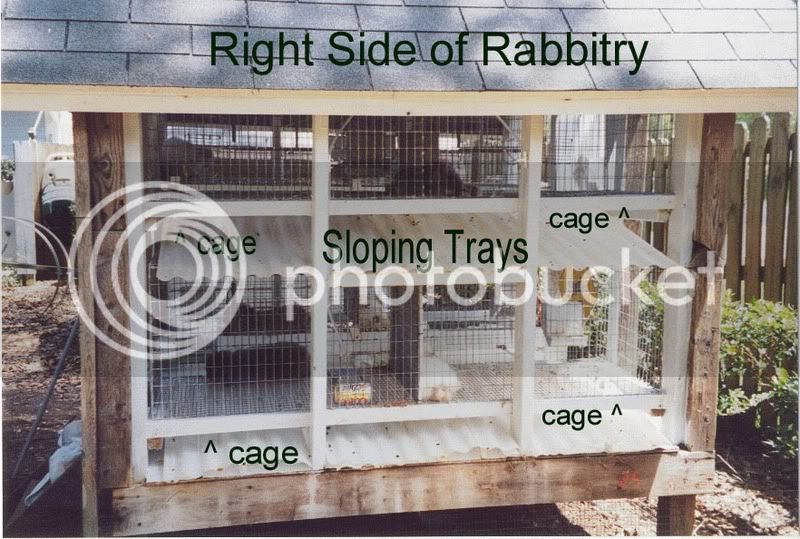
This second picture shows the outside of my rabbitry before I put upthe shade cloth and when I used corrugated plastic (like greenhouseroofing) for the sloping poop trays. The trays ran from the front ofthe cages to outside of the frame of the building, allowing waste todrop straight into compost pits. I kept the pits stirred frequently,and never had a problem with waste building up. It made awesomefertilizer. To clean the trays, all I had to do was hose them down- Ididn't even need to take the rabbits out of the cages.
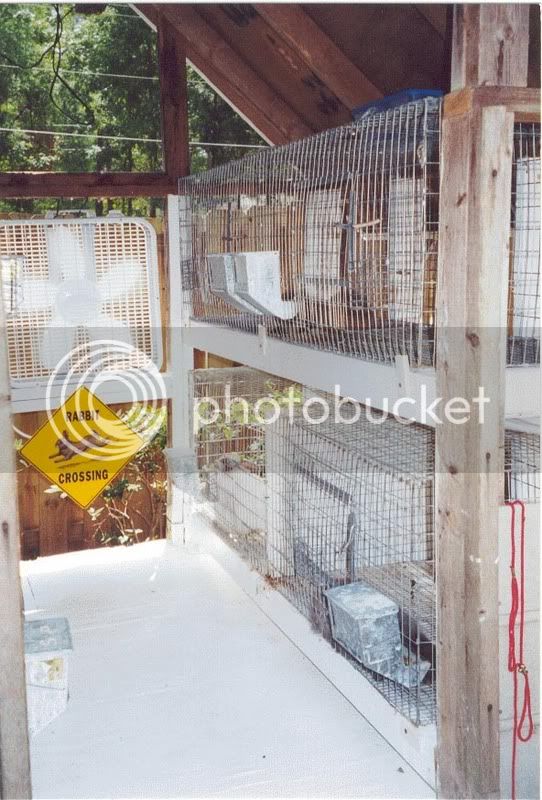
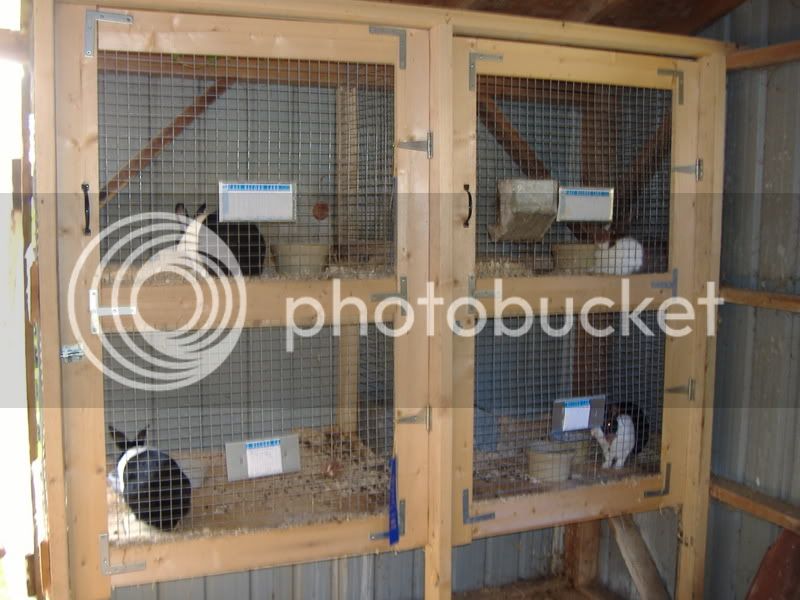
Here's a shot down the middle aisle. I painted all exposed woodensurfaces with a high gloss outdoor paint- everything washed right off.The fan down the middle helped push any hot air out (I live inFlorida). You can just barely see the blue water tub sitting on top ofthe cage- that was the resevoir for the automatic watering system.
I LOVED this setup. I would make it again if I ever had a space where Ineeded to stack caged. (Right now my current cages drop waste straightdown onto the dirt). It took very little maintenance. Probably 30minutes once a week to keep clean, all the rest of the time I couldgive to the rabbits. Not shown is an outdoor run I built. It wasmoveable, so they were always on fresh grass. It had broom handlesrunning crosswise at different heights, so the rabbits had to jump (nottoo high) to get from one side to the other. They stayed in greatcondition for show that way.