


BellaBunnies
Member
I thought it would be nice to share our from scratch new bunny quarters....
Here goes:
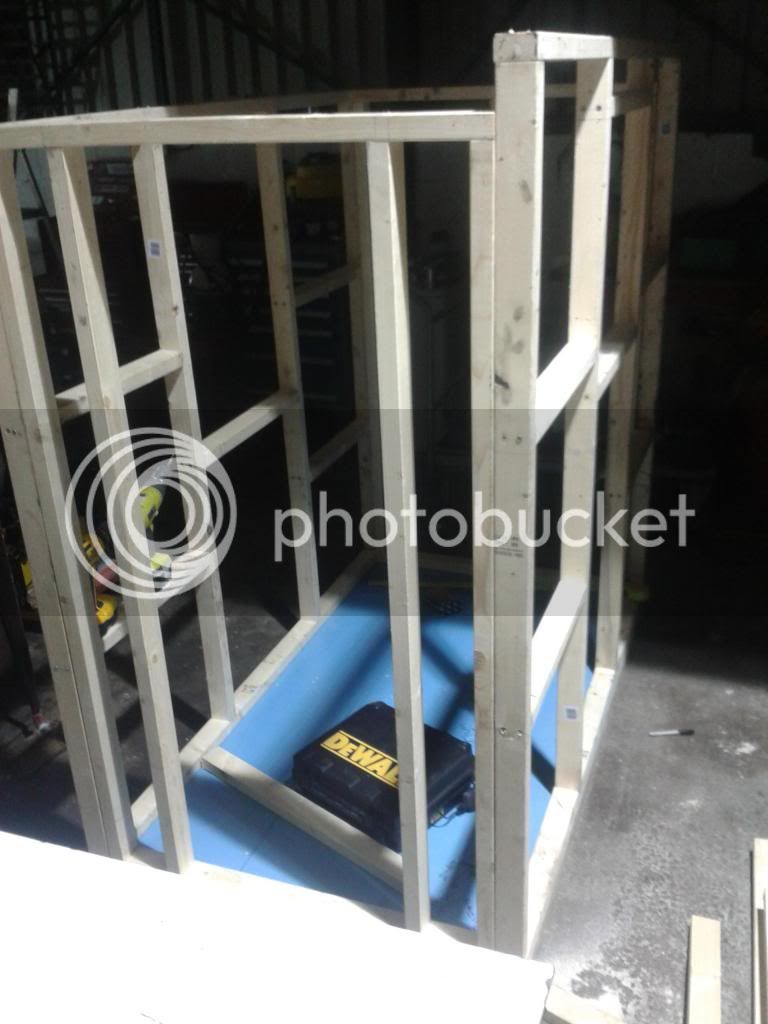
We started building it at my OH unit (excuse the rubbish in the background )
)
My OH starting the side...
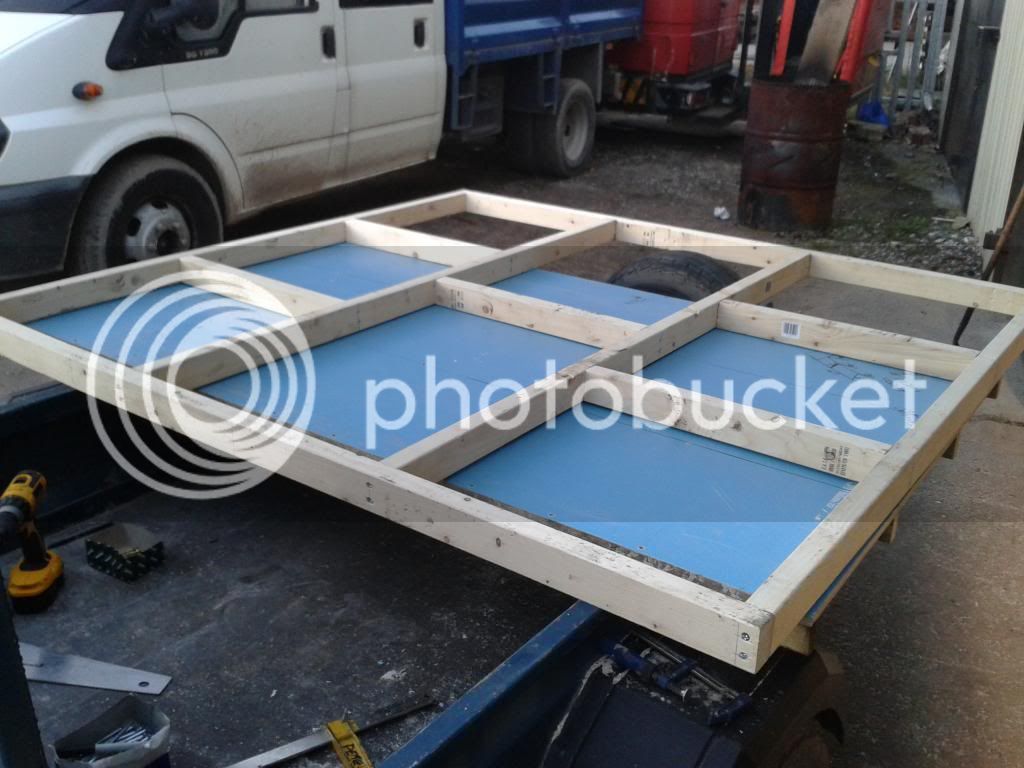
The first side built & the plastic coated wood underneath that is planned to be the base...
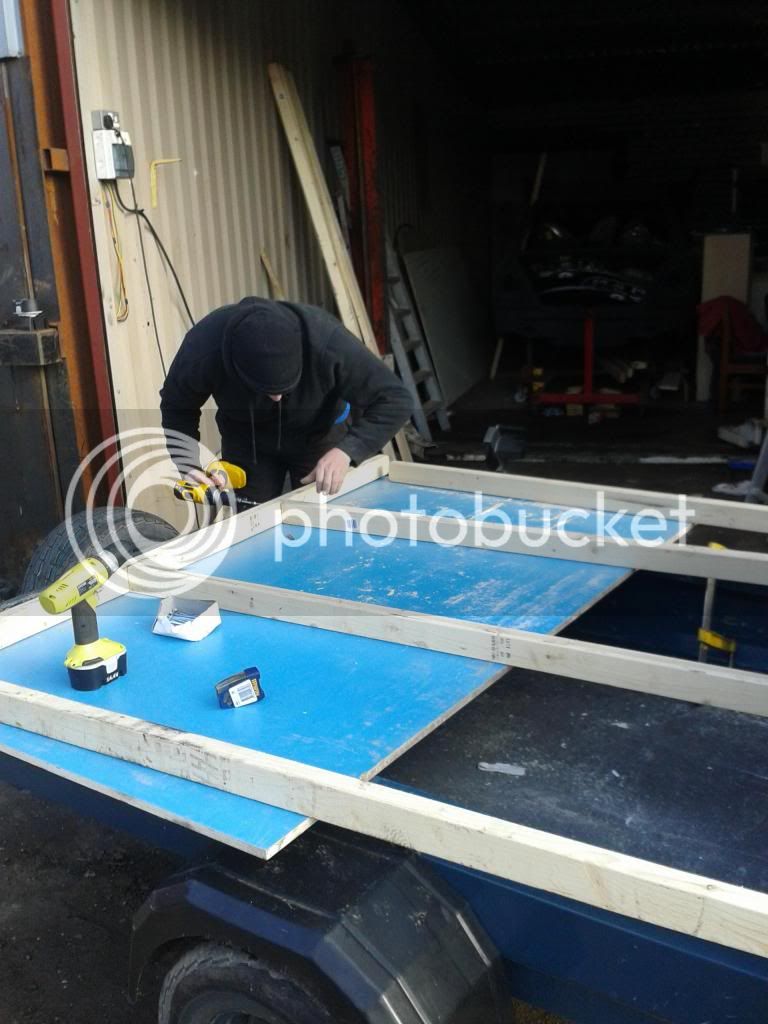
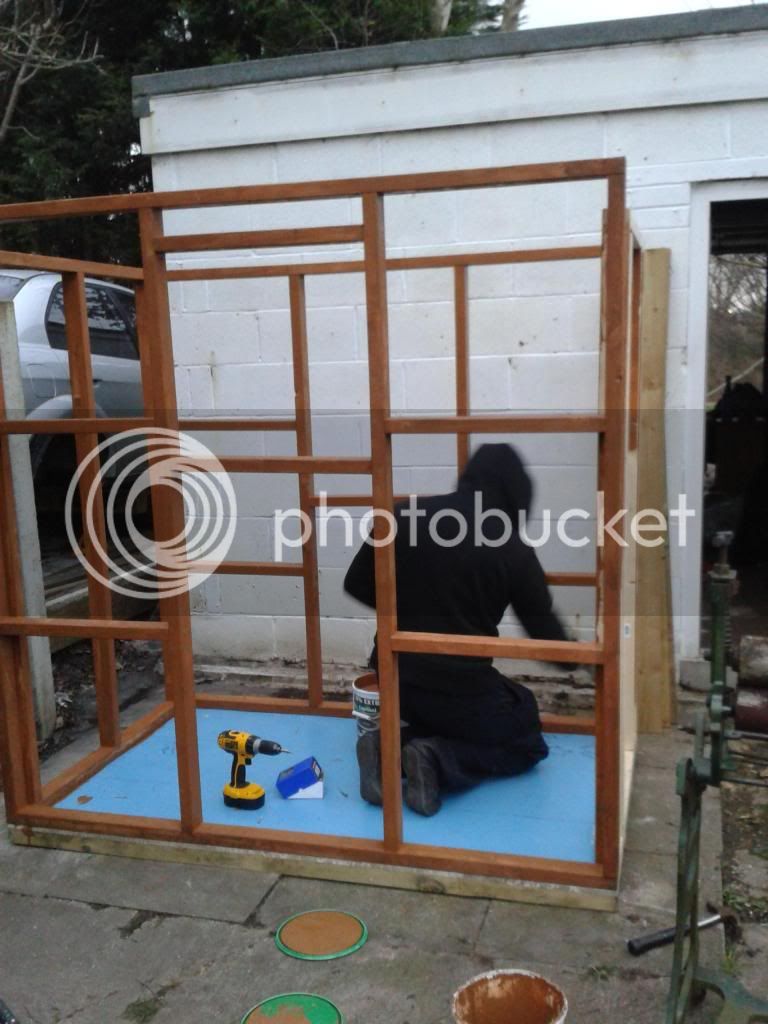
We screwed the 2 sides to the base to measure the front and back, then built the panels to fit...
We then dismantled it all (the good thing about building it in sections), and took it home to paint...
We then attached feather-board (leaving a gap for a window)
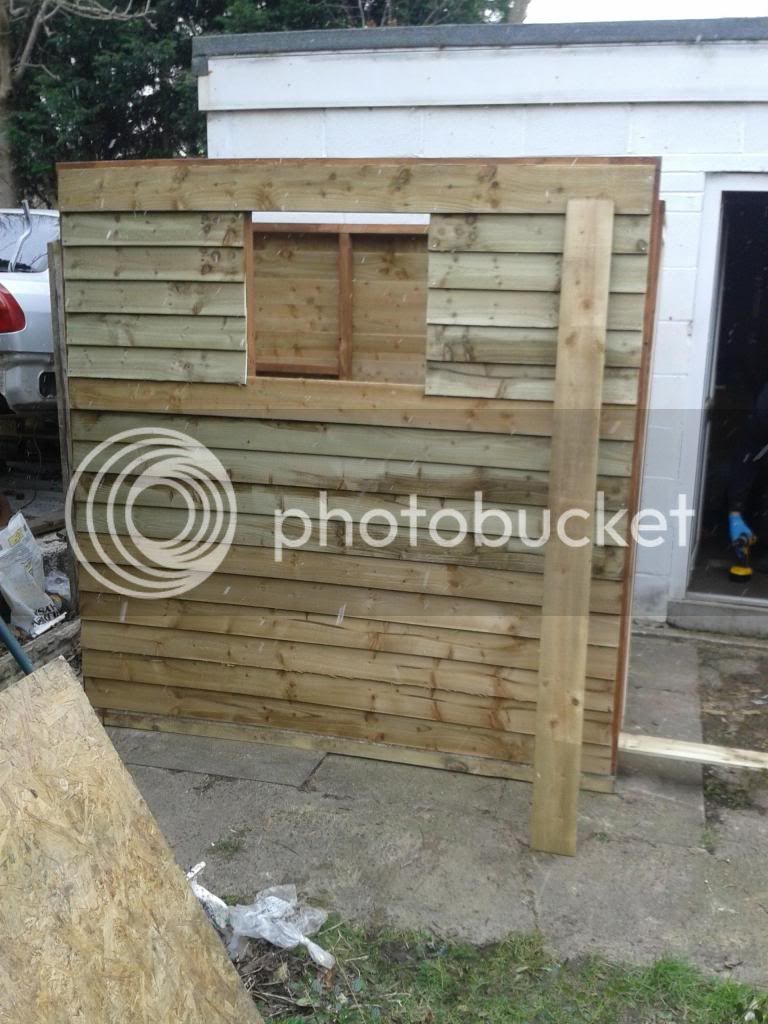
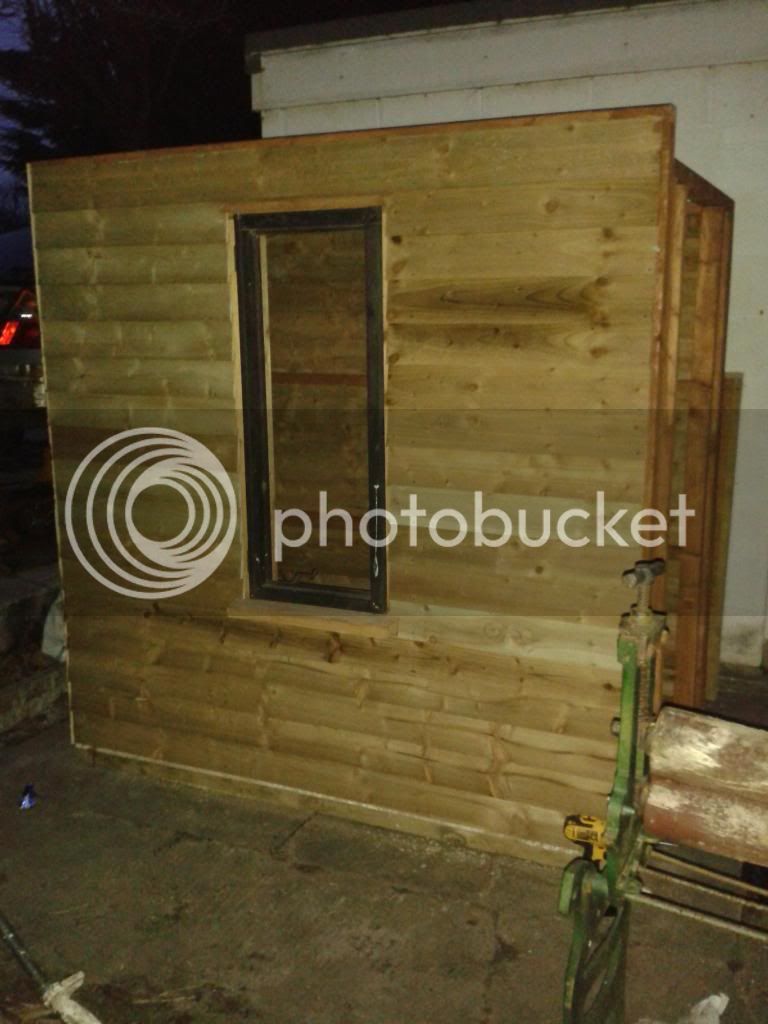
My Dad then suggested he had 'just the thing', a large window frame / window. We stripped off the feather-board and mounted the new freebie...
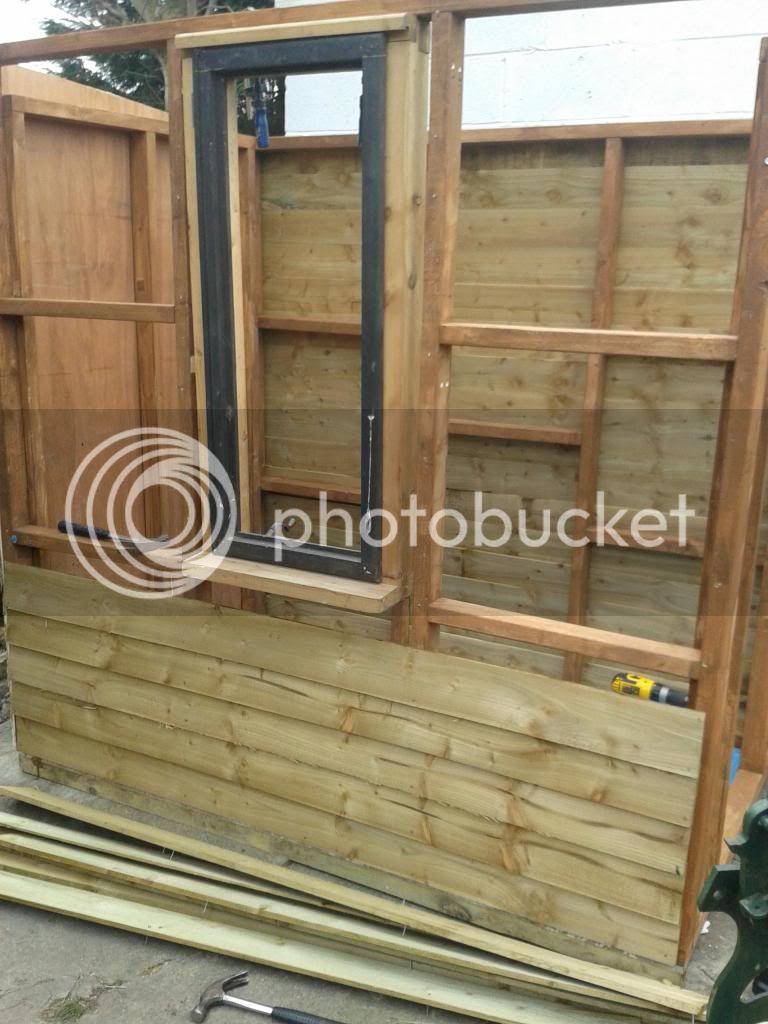
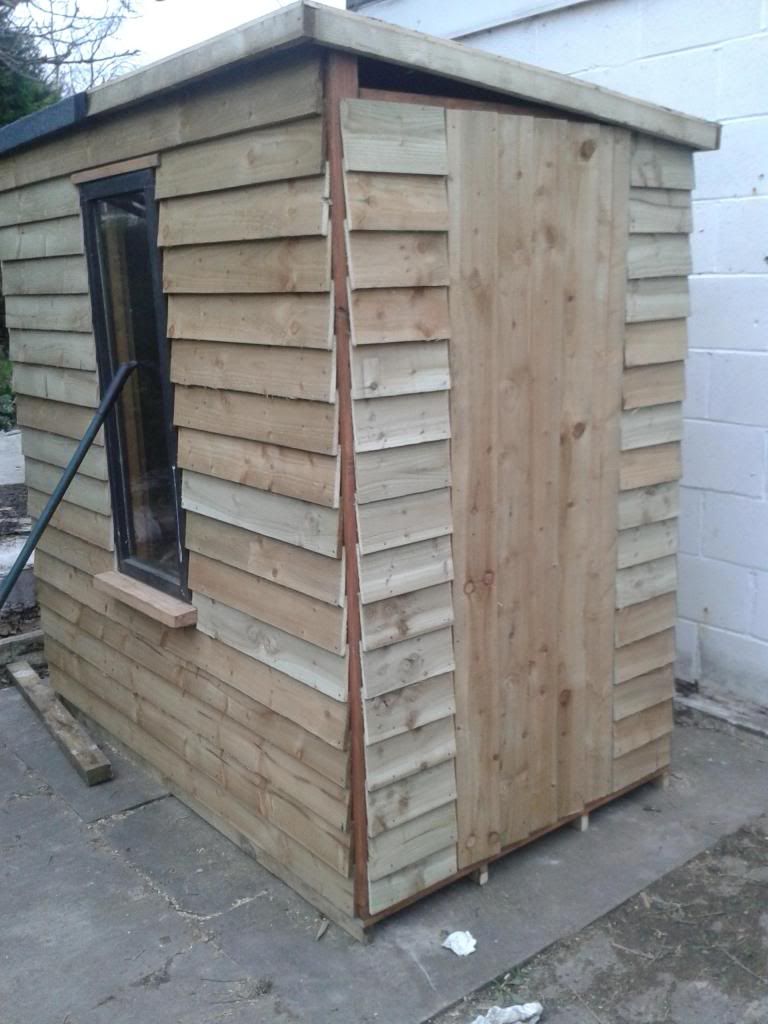
Here it is boarded back up...
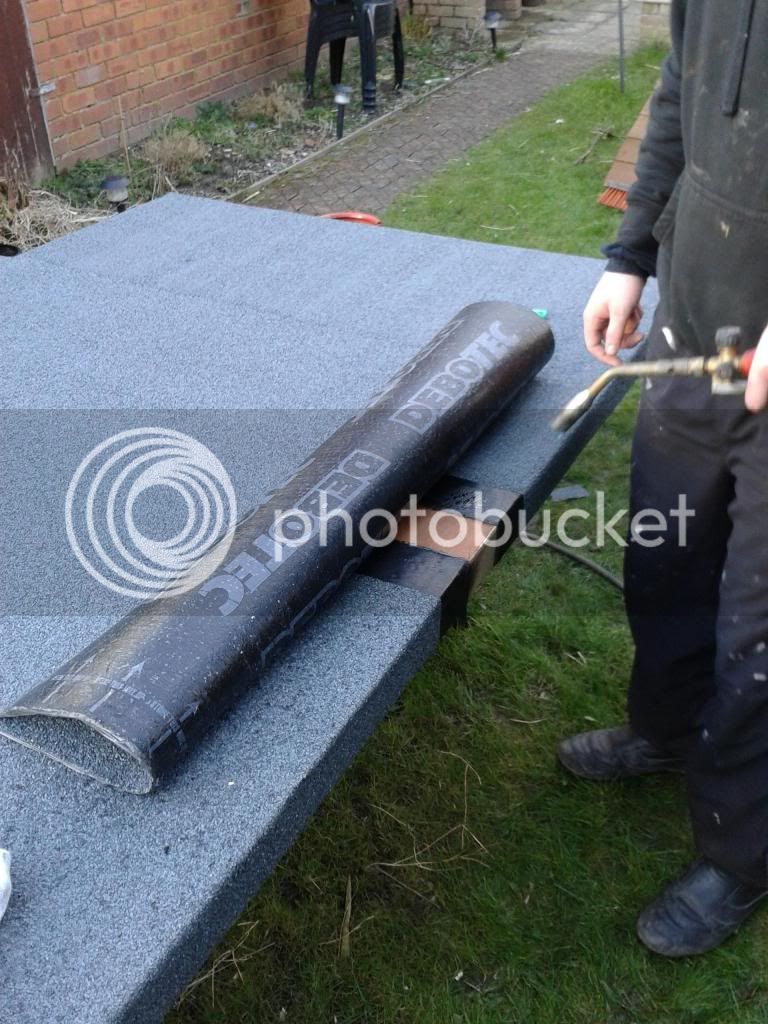
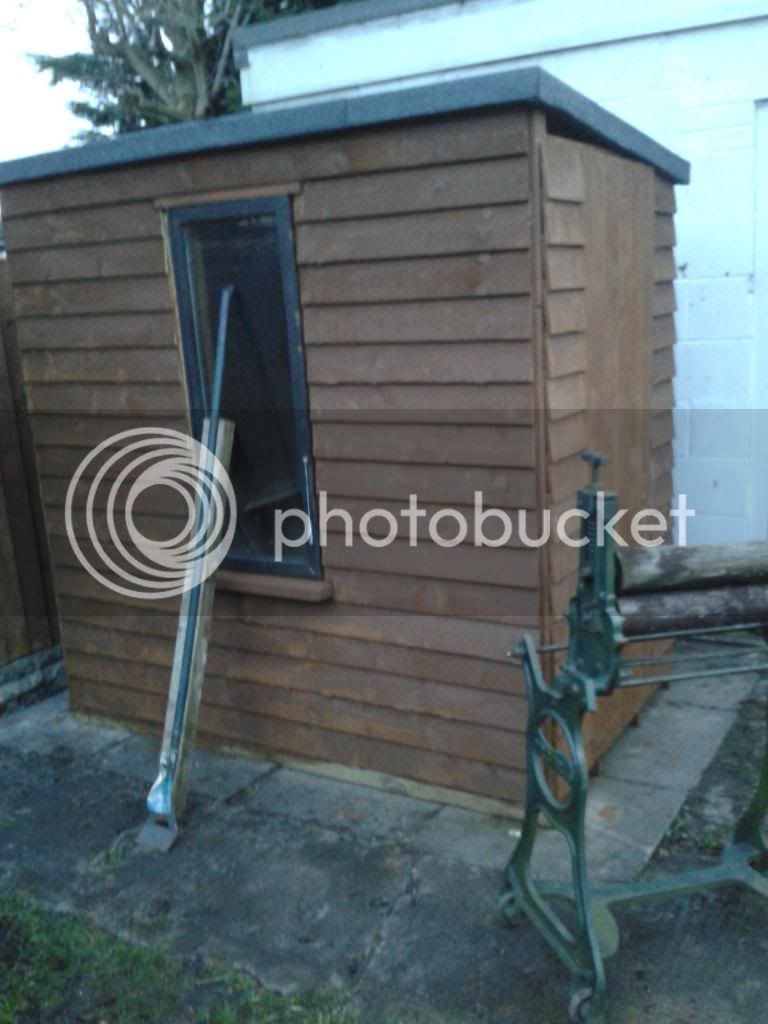
We boarded up the front and the door, made a roof (exterior ply) then covered the back half of the roof using heat up roofing felt.. The window is balancing in the frame in the pic because I want to paint the frame before fixing in the window.
That's as far as we have got up to date.... :wave:
Here goes:
We started building it at my OH unit (excuse the rubbish in the background
)My OH starting the side...
The first side built & the plastic coated wood underneath that is planned to be the base...
We screwed the 2 sides to the base to measure the front and back, then built the panels to fit...
We then dismantled it all (the good thing about building it in sections), and took it home to paint...
We then attached feather-board (leaving a gap for a window)
My Dad then suggested he had 'just the thing', a large window frame / window. We stripped off the feather-board and mounted the new freebie...
Here it is boarded back up...
We boarded up the front and the door, made a roof (exterior ply) then covered the back half of the roof using heat up roofing felt.. The window is balancing in the frame in the pic because I want to paint the frame before fixing in the window.
That's as far as we have got up to date.... :wave: